Uploading Receipts
Expensed uses OCR (Optical Character Recognition) to automatically read your receipts and fill in expense details. Here's how to upload receipts for the fastest expense creation.
Supported File Types
Expensed accepts these file formats:
| Format | Best For |
|---|---|
| JPEG/JPG | Phone camera photos |
| PNG | Screenshots, scanned images |
| Email receipts, digital invoices | |
| TIFF | High-quality scans |
File Size Limit
Maximum file size is 10 MB per receipt. Most phone photos are well under this limit.
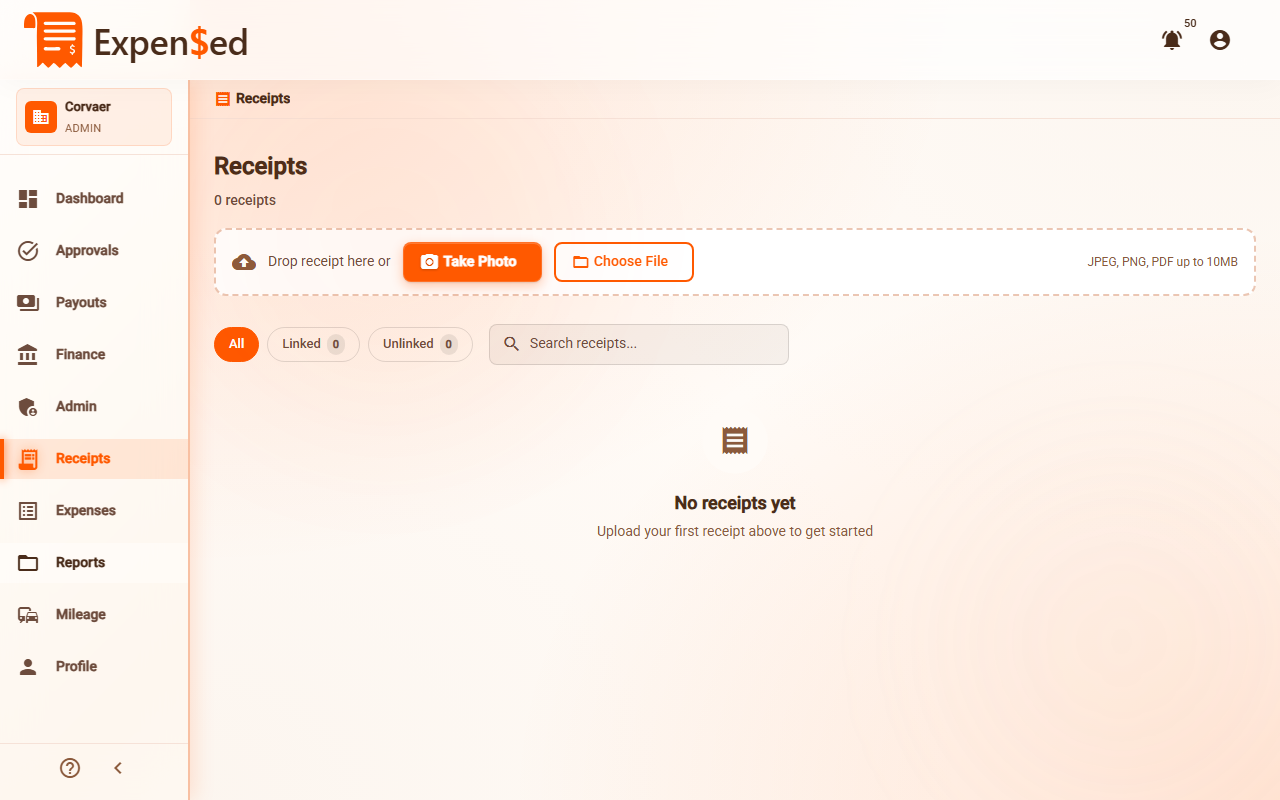
How to Upload a Receipt
Method 1: Drag and Drop (Desktop)
- Go to Receipts in the sidebar
- Drag your receipt file onto the upload area
- Wait for OCR processing (usually 2-3 seconds)
- Review the extracted data
- Click Create Expense
Method 2: Click to Upload
- Go to Receipts in the sidebar
- Click the Upload Receipt button or the upload area
- Select a file from your device
- Wait for OCR processing
- Review and create the expense
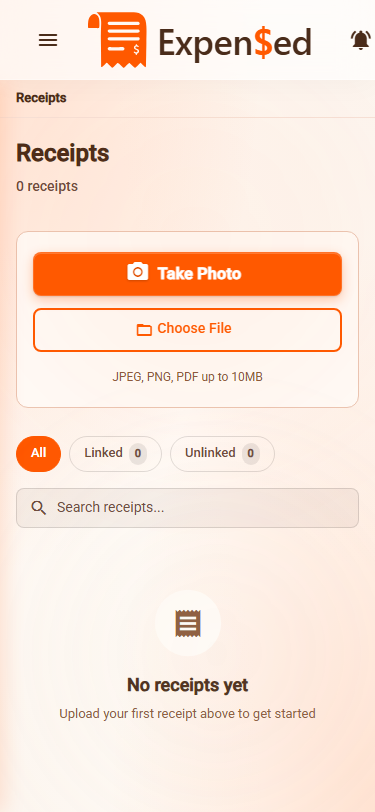
Method 3: Take a Photo (Mobile)
- Go to Receipts in the sidebar
- Tap the Upload Receipt button
- Select Take Photo or choose from your camera roll
- Capture the receipt (keep it flat and well-lit)
- Wait for OCR processing
- Review and create the expense
What OCR Extracts
Our Google Vision OCR technology automatically reads:
- Merchant name - The store or vendor
- Total amount - The final price paid
- Date - When the purchase was made
- Tax amount - If visible on the receipt
Better Photos = Better Results
For best OCR accuracy:
- Flatten the receipt (no wrinkles or folds)
- Use good lighting (avoid shadows)
- Include the entire receipt in the frame
- Hold steady to avoid blur
Review Extracted Data
After uploading, you'll see a preview of the extracted data:
- Merchant: Check if the store name is correct
- Amount: Verify the total matches your receipt
- Date: Confirm the purchase date
- Category: Select the appropriate expense category
Always Verify
OCR is accurate but not perfect. Always double-check the extracted data before submitting.
If OCR Gets It Wrong
Sometimes OCR may misread text. Here's what to do:
| Problem | Solution |
|---|---|
| Wrong amount | Click the amount field and type the correct value |
| Wrong date | Click the date field and select the correct date |
| Wrong merchant | Edit the merchant name field |
| Missing data | Manually fill in the blank fields |
Upload Multiple Receipts
For expenses with multiple receipts (like a hotel stay with multiple charges):
- Create an expense from the first receipt
- In the expense form, click Add Receipt
- Upload additional receipts
- All receipts are attached to the same expense
See Creating Expenses for more details.
Processing Time
OCR processing typically takes:
- 2-3 seconds for clear photos
- 5-10 seconds for PDFs or complex receipts
A progress indicator shows while processing.
Troubleshooting Uploads
Upload Failed
If your upload fails:
- Check your internet connection
- Verify the file size is under 10 MB
- Try a different file format (convert PDF to image)
- Refresh the page and try again
OCR Couldn't Read Receipt
If OCR returns blank or incorrect data:
- The receipt may be too blurry - try a clearer photo
- The receipt may be in a non-English language
- Handwritten receipts may not work well
- Very old or faded receipts may be hard to read
You can always enter the data manually if OCR doesn't work.
Next: Creating Expenses →