Viewing Expenses
The Expenses page shows all your expenses in one place. Here's how to find, filter, and manage your expense history.
The Expense List
Go to Expenses in the sidebar to see all your expenses.
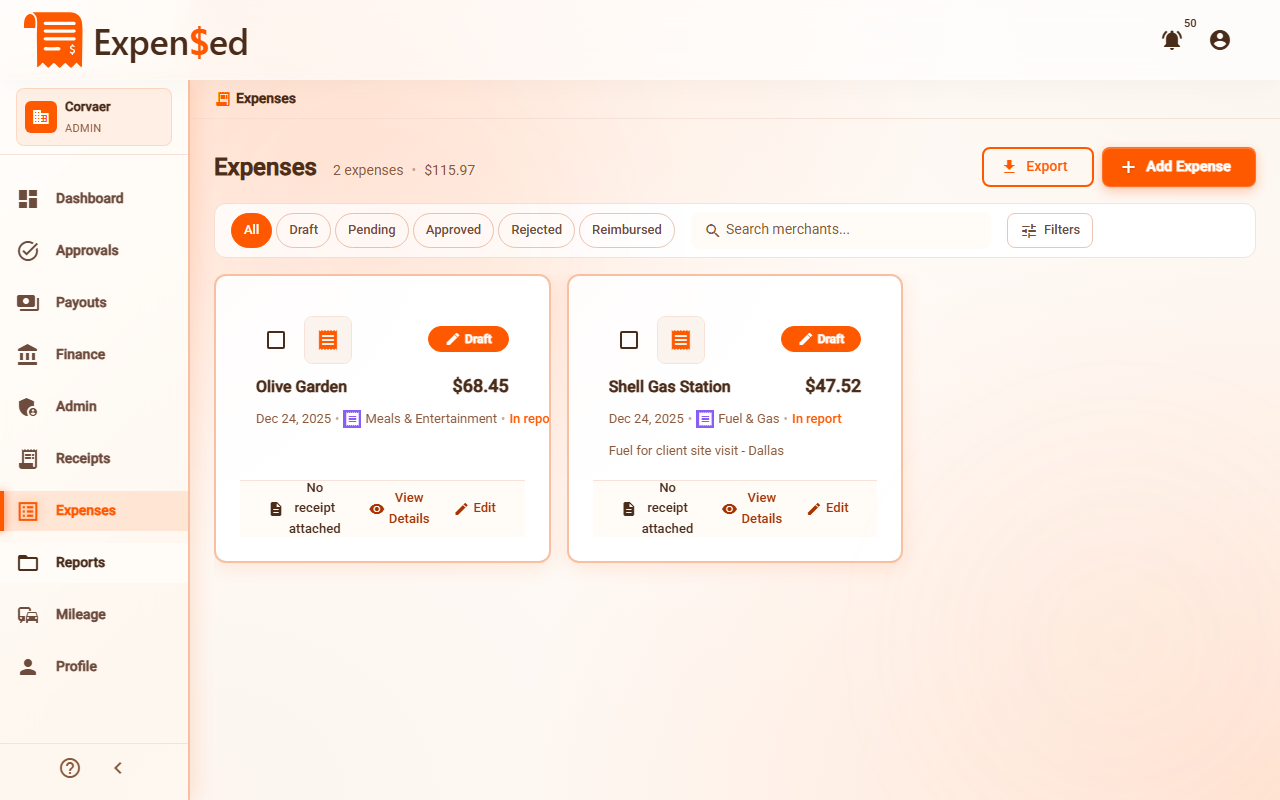
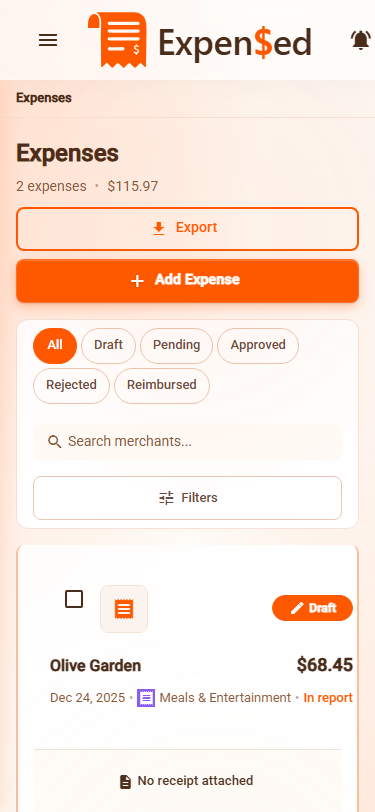
What You See
Each expense row shows:
| Column | Description |
|---|---|
| Merchant | Where you made the purchase |
| Category | Type of expense (with icon) |
| Amount | How much you spent |
| Date | When the purchase was made |
| Status | Current status (see below) |
| Receipts | Number of attached receipts |
| Actions | Menu for edit, view, delete |
Expense Statuses
Expenses move through these statuses:
| Status | Badge Color | Meaning |
|---|---|---|
| Draft | Gray | Saved but not submitted |
| Submitted | Blue | Sent for approval |
| Approved | Green | Approved by manager/finance |
| Rejected | Red | Rejected - needs revision |
| Paid | Purple | Reimbursement processed |
Filtering Expenses
Use filters to find specific expenses:
By Status
- Click the Status filter dropdown
- Select one or more statuses
- The list updates to show only matching expenses
By Category
- Click the Category filter dropdown
- Select one or more categories
- View expenses in those categories only
By Date Range
- Click the Date filter
- Select a preset range (This Month, Last Month, etc.) or
- Choose Custom and pick start/end dates
Search
- Type in the Search box
- Search matches merchant names
- Results filter as you type
Combine Filters
You can use multiple filters at once. For example: "Meals" + "Last Month" + "Approved" shows all approved meal expenses from last month.
Viewing Expense Details
Click any expense to see its full details:
- Receipt preview - View attached receipt images
- OCR data - See what was extracted automatically
- Timeline - Track status changes over time
- Approval history - See who approved/rejected and when
Receipt Preview
In the expense detail view:
- Click the receipt thumbnail to expand
- Use zoom controls to see details
- Click Download to save the original file
- Click Open in New Tab for full-screen view
Batch Actions
Select multiple expenses for bulk actions:
- Check the checkbox next to each expense
- Or click Select All in the header
- Available actions appear in the toolbar:
- Add to Report - Group into an expense report
- Delete - Remove draft expenses
Sorting Expenses
Click column headers to sort:
- Date - Newest or oldest first
- Amount - Highest or lowest first
- Merchant - Alphabetical order
An arrow shows the current sort direction.
Exporting Expenses
Finance users can export expense data:
- Apply filters to select expenses
- Click Export in the toolbar
- Choose format (CSV or PDF)
- Download the file
See Exports for more details.
Expense Actions
View
- Click the expense row or View in the menu
- See full expense details
- View attached receipts
Edit
- Click Edit in the three-dot menu
- Make your changes
- Click Save
Edit Restrictions
You can only fully edit draft expenses. Submitted expenses have limited editing options.
Delete
- Click Delete in the three-dot menu
- Confirm the deletion
- The expense is permanently removed
Draft Only
Only draft expenses can be deleted. Submitted or approved expenses cannot be deleted.
Add to Report
- Select one or more draft expenses
- Click Add to Report
- Choose an existing report or create a new one
- The expenses are added to the report
See Creating Reports for more details.
Next: Creating Reports →