Navigation Guide
Learn how to find your way around Expensed with this guide to the main navigation elements.
The Sidebar
The sidebar is your main navigation hub. It appears on the left side of the screen.

Desktop View
On desktop, the sidebar:
- Is always visible on the left
- Can be collapsed to icons only (click the arrow at the bottom)
- Shows labels next to icons when expanded
- Shows red badges for items needing attention
Mobile View
On mobile, the sidebar:
- Is hidden by default
- Opens when you tap the hamburger menu (☰) at the top left
- Slides in from the left
- Closes when you tap outside it or select a page
Navigation Items
Depending on your role, you'll see different menu items:
| Icon | Menu Item | Who Sees It | What It Does |
|---|---|---|---|
| Dashboard | Everyone | Your home page with quick stats and actions | |
| Approvals | Managers, Finance, Admins | Review and approve expenses | |
| Payouts | Finance, Admins | Process employee reimbursements | |
| Finance | Finance, Admins | Analytics and financial dashboard | |
| Admin | Admins | Organization settings | |
| Receipts | Everyone | Upload new receipts | |
| Expenses | Everyone | View and manage expenses | |
| Reports | Everyone | Create and submit expense reports | |
| Mileage | Everyone | Track business mileage | |
| Profile | Everyone | Your account settings |
Badges
Red badges show counts of items needing your attention:
- Approvals badge: Number of expenses waiting for your approval
- Payouts badge: Number of approved expenses ready for reimbursement
- Expenses badge: Number of unreported expenses
- Reports badge: Number of draft reports
Badge Updates
Badges update automatically. If you approve an expense, the badge count decreases immediately.
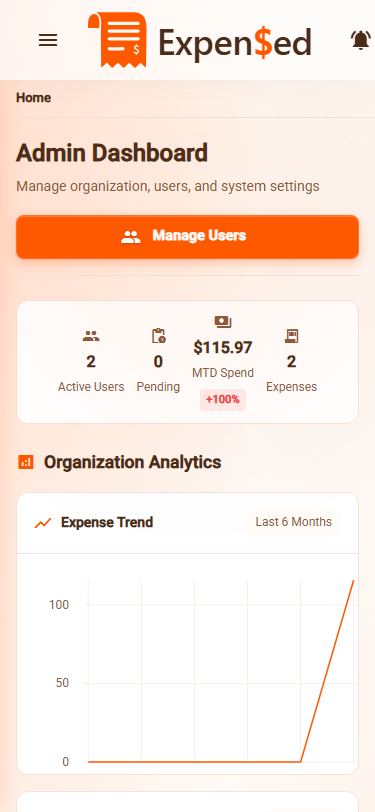
Top Bar
The top bar contains:
- Expensed logo (click to go home)
- Organization logo (if set by admin)
- Search bar (coming soon)
- Notifications bell 🔔
- User menu (click your avatar)
- Hamburger menu ☰ (opens sidebar)
- Expensed logo
- Notifications bell 🔔
- User menu
Notifications
Click the bell icon 🔔 to see your notifications:
- Expense approved/rejected
- Report status changes
- Reimbursement processed
- System announcements
Unread notifications show a red dot on the bell.
User Menu
Click your avatar or name in the top right to access:
- Profile Settings - Edit your personal info
- Dark Mode - Toggle between light and dark themes
- Install App - Add Expensed to your device
- Sign Out - Log out of Expensed
Breadcrumbs
Below the top bar, breadcrumbs show your current location:
Dashboard > Expenses > Expense Details
Click any breadcrumb to navigate back to that page.
Quick Actions
From the Dashboard, you'll see quick action buttons:
- Upload Receipt - Start submitting an expense
- New Expense - Create an expense manually
- View Reports - See your expense reports
- Log Mileage - Record a business trip
Keyboard Shortcuts
Power users can navigate faster with keyboard shortcuts:
| Shortcut | Action |
|---|---|
Shift + ? |
Show all keyboard shortcuts |
Esc |
Close any open dialog |
Ctrl/Cmd + K |
Open search (coming soon) |
Press Shift + ? anywhere in Expensed to see the full list of shortcuts.
Need Help?
Look for these help indicators throughout the app:
- Help icons - Click for explanations
- Info tooltips - Hover for more details
- Tips - Suggestions for better workflows
Next: Uploading Receipts →